Web Forms are digital forms that allow users to enter information and sign documents online through a simple, interactive interface. Instead of downloading files or filling out static PDFs, signers can complete forms directly in their browser on any device, making the process faster and more convenient.
Web Forms are commonly used for customer onboarding, registrations, applications, consent forms, service requests, and internal data collection. Once a Web Form is created in WESIGN, it generates a secure link that can be shared or embedded on your website, allowing signers to submit information and signatures easily while you receive the completed data and signed document instantly.
This guide explains how to build a Web Form in WESIGNDOC, from creating the form to sharing it with signers.
Steps to Build a Web Form in WESIGN
1. Start a New Web Form
Log in to your WESIGN account and select the option to create a new Web Form from the dashboard.
2. Add Fields in the Canvas
Use the form canvas to add the fields you need to collect information, such as text inputs, signature fields, checkboxes, or dropdowns.
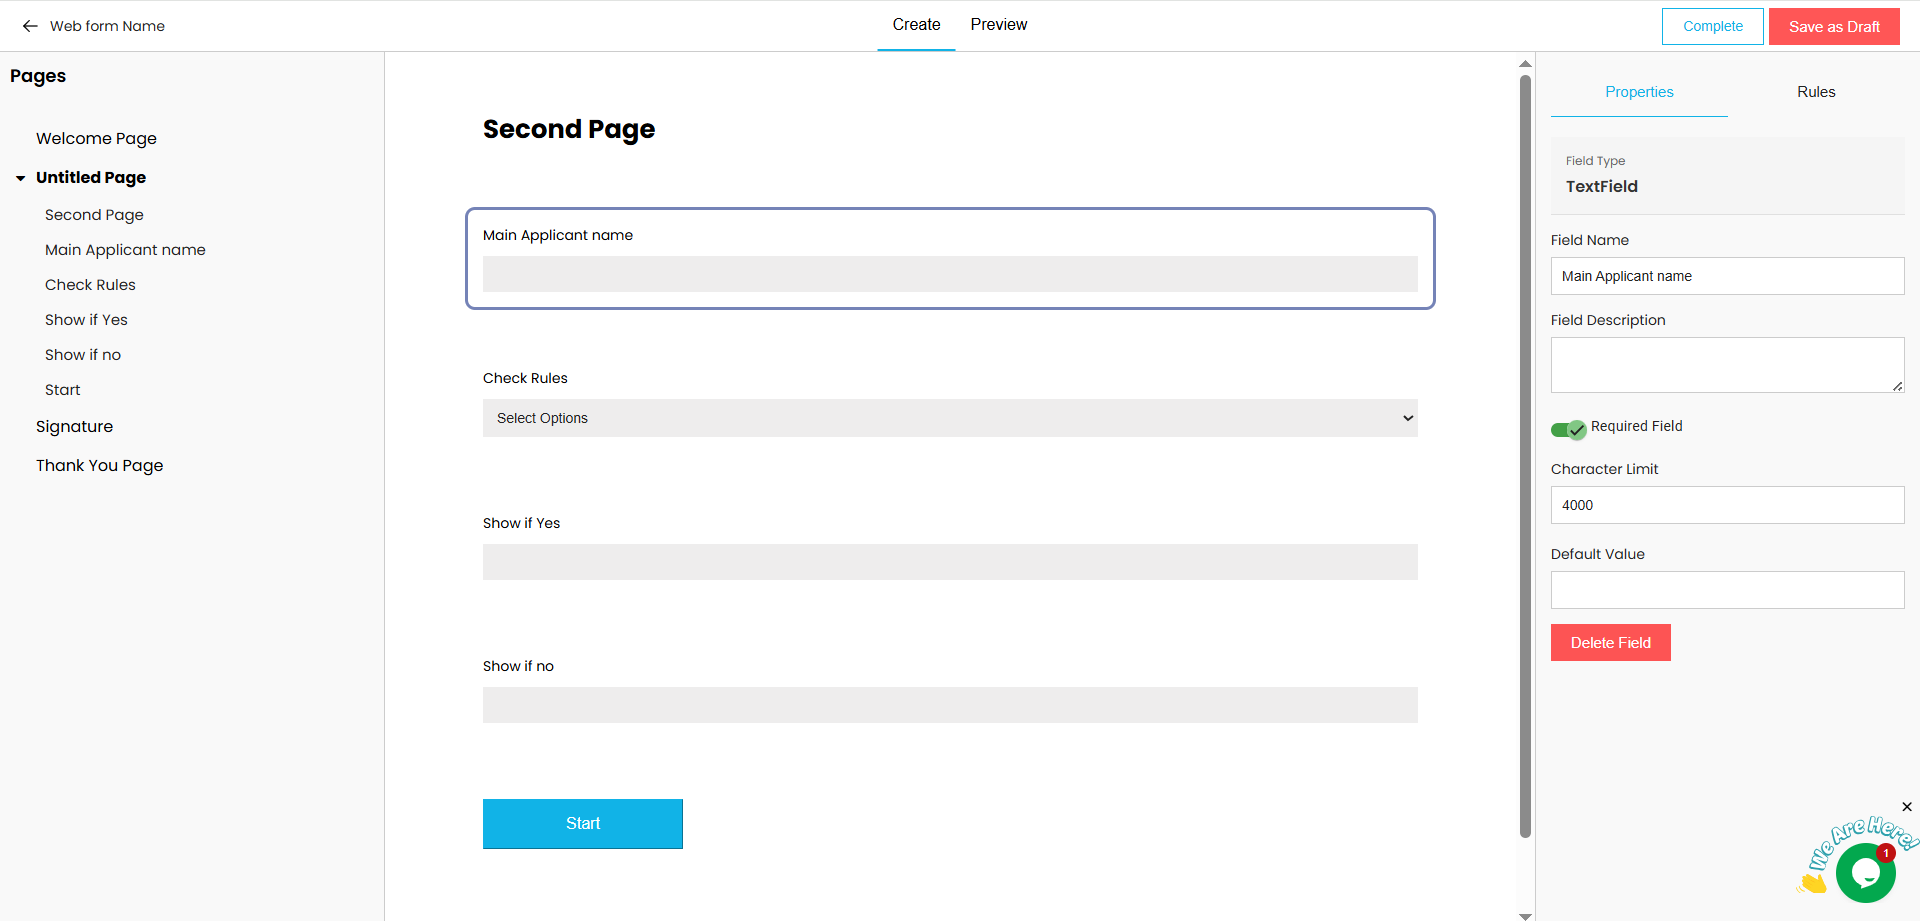
3. Apply Conditional Rules (Optional)
Select Rules in the canvas to define conditions that show or hide fields based on user responses. This helps keep forms clear and relevant.

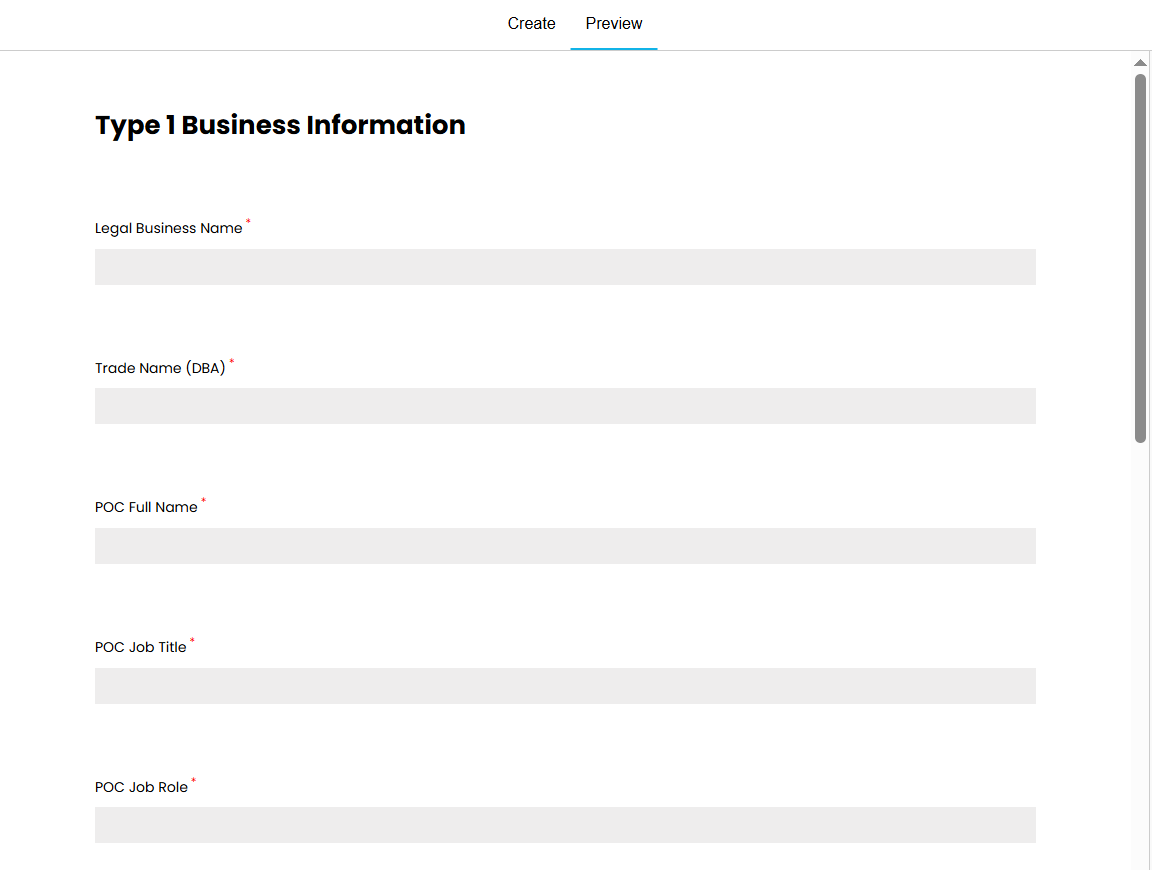
4. Preview the Form
Click Preview to review how the Web Form will appear to signers and ensure everything works as expected.
5. Save the Web Form
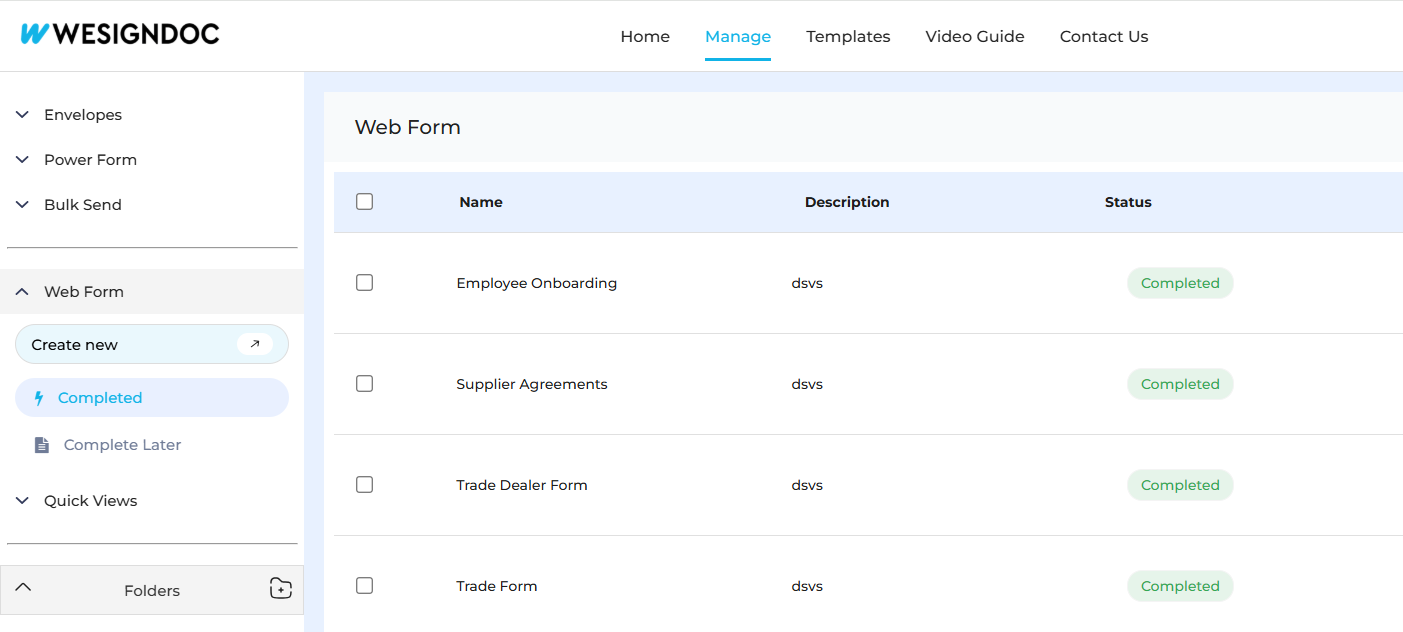
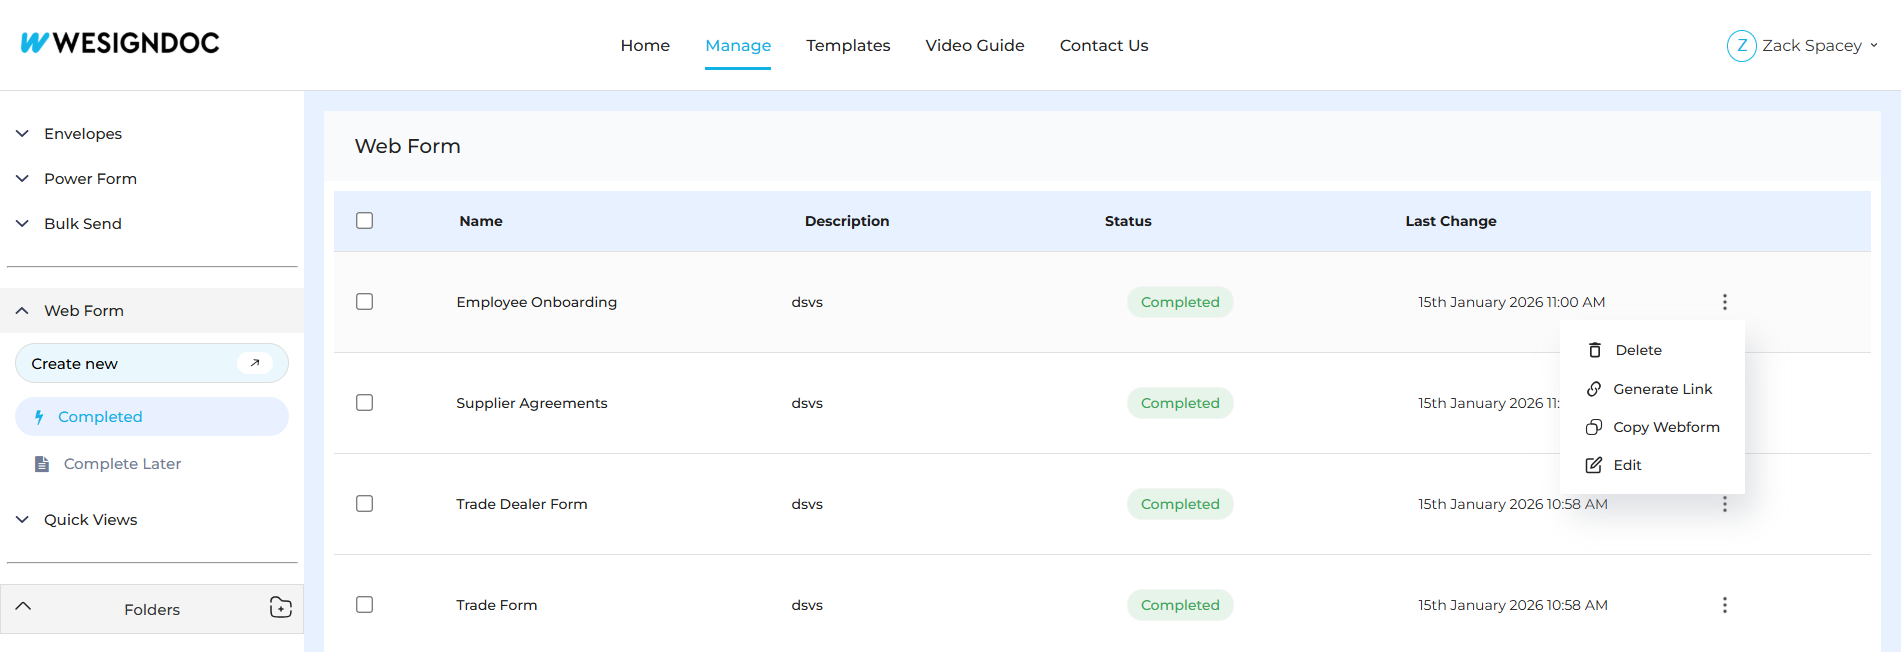
Once the form is complete and reviewed, save it. Once the webforms are saved you can check them in the webform listing

6. Share or Embed the Form
After saving, copy the generated Web Form link to share directly with users, or embed it into your website or application.
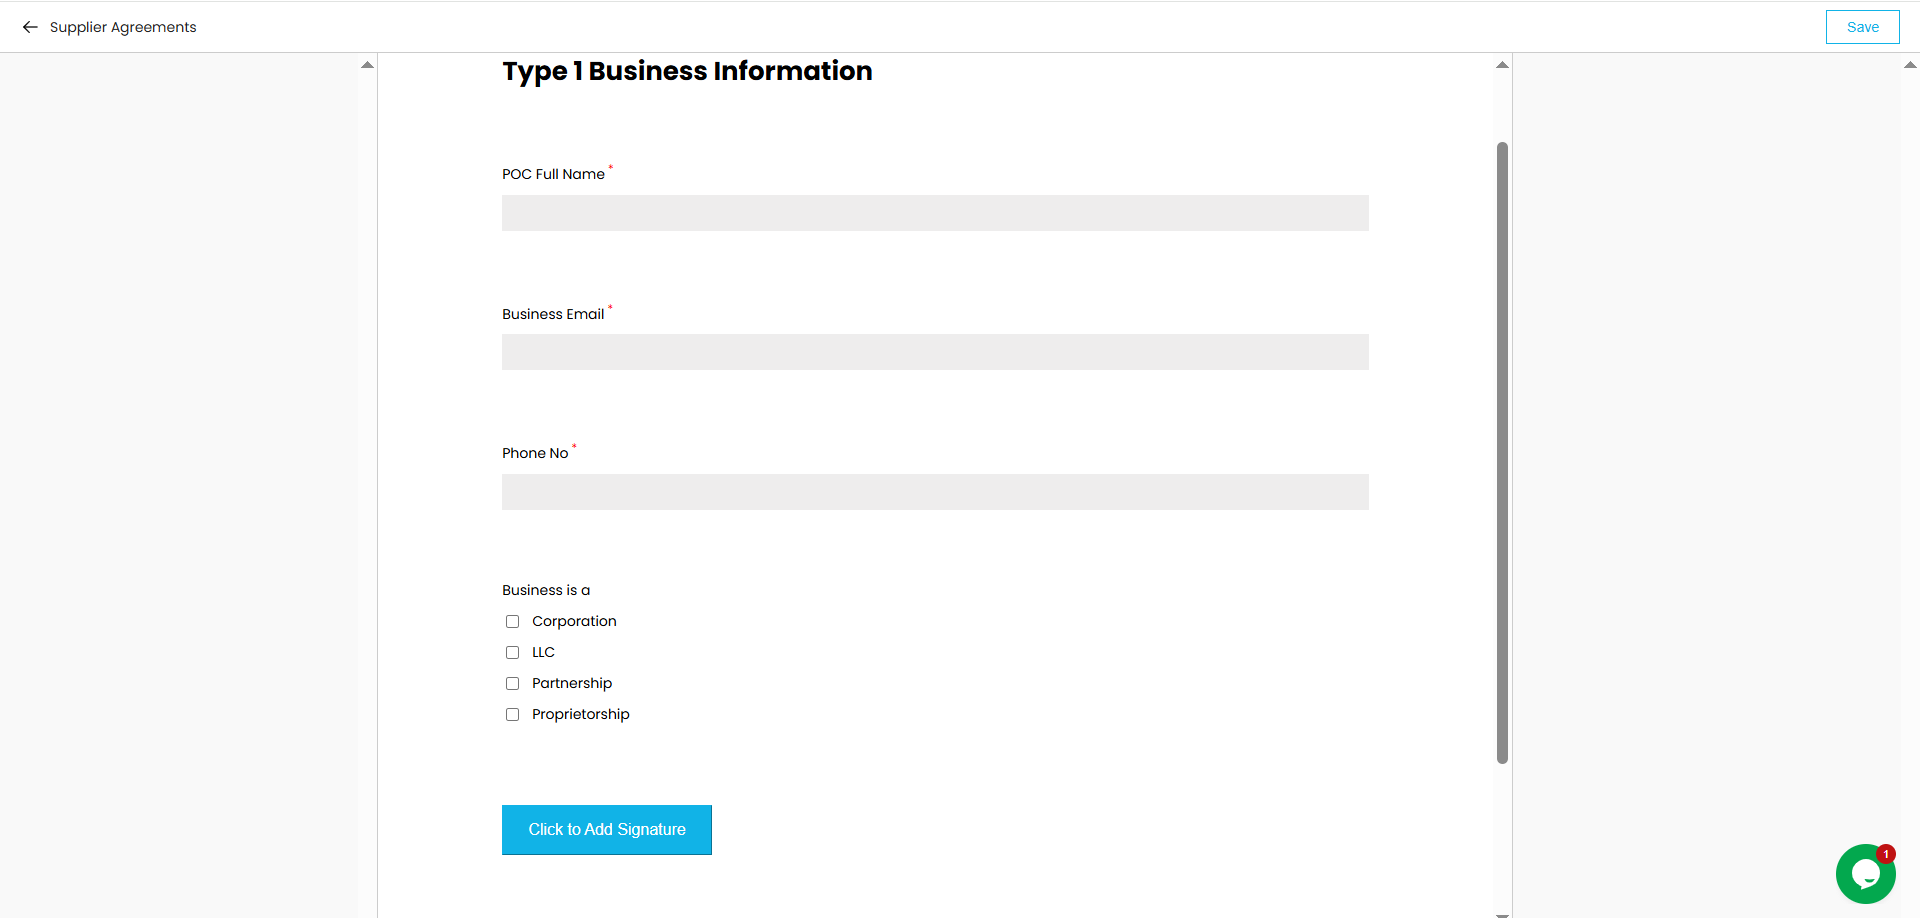
7. Fill the Form
Once the form link is shared to the signer or the signer access the form the platform embedded link this is how they can fill & submit the form.
Why Use WESIGN Web Forms
-
No-code form creation
-
Mobile-friendly completion
-
Dynamic forms using conditional logic
-
Easy sharing via link or embed
-
Secure collection of information and signatures
 Products
 eSignature Send, sign, and track documents
 Mobile App Sign, send, and manage documents from anywhere
 Smart Document Templates Build, reuse, and standardize documents
 Mass Document Sending (Bulk Send) Send forms to thousands in one go
 Web Forms Share links to collect signed forms
 Secure SMS Delivery Send sign links directly via SMS
 Robust API Integration Automate sending and tracking flows
 Developer SDK Toolkits Add eSign features to any product